Author: Reach Beyond Celiac Ambassador Monica Schiller, PA-C
Were you or your child just diagnosed with celiac disease, non-celiac gluten-sensitivity (NCGS), or another condition that means you have to go gluten-free (GF)? Worry not! Transitioning to a gluten-free lifestyle can feel overwhelming, but creating a safe kitchen is one of the most empowering first steps. Whether you’re going fully gluten-free or sharing your space with gluten-eaters, a thoughtful setup can help protect your health and bring peace of mind.
Note: These are general guidelines. Always work with your medical team to decide what’s best for your needs.
Choose Your Kitchen Setup
- Option A: 100% Gluten-Free Kitchen Ideal for reducing stress and eliminating cross-contact. Works best when everyone in the household can commit to gluten-free living.
- Option B: Mixed (Shared) Kitchen Requires more planning and organization, but with a clear system and consistent communication, this can be a safe option.
How to Clean
Using soap and water to clean is sufficient. Please note that gluten is not a virus or bacteria, so things like bleach or sanitizer won’t “kill” it. Gluten is more like sand or dirt—a natural particle that can be tough (but possible!) to rid your things of.
If you have celiac disease or NCGS, you can’t get sick from touching gluten. You have to ingest it to get sick from it. Wear gloves while cleaning if it makes you more comfortable, but know that it’s not necessary.
Gluten can hide in small places, including sponges, so designate different sponges, rags, and/or towels for gluten and gluten-free spaces. Do not use gluten-containing sponges to clean a gluten-free area.
Option A: 100% Gluten-Free Kitchen
One benefit to this option is that you only have to deep clean and replace cookware once, unless a large amount of gluten is accidentally re-introduced.
Deep Clean Major Appliances
Refrigerator and Freezer
- Discard anything that may be contaminated (e.g., shared condiments like mayo, where someone could have double-dipped with a knife to spread on a piece of bread).
- Clean shelves, drawers, and handles thoroughly.
Oven
- Clean racks separately in warm, soapy water.
- Wipe down the floor, walls, and ceiling of the interior.
- Use the self-cleaning feature if available.
The Pantry
- Go shelf by shelf and sort into three categories: keep (safe), discard (contains gluten), and unsure (research later).
- Donate unopened gluten-containing items.
- Clean all surfaces with soap and water and vacuum crumbs from drawers or corners.
- Let everything dry fully before restocking with gluten-free products.
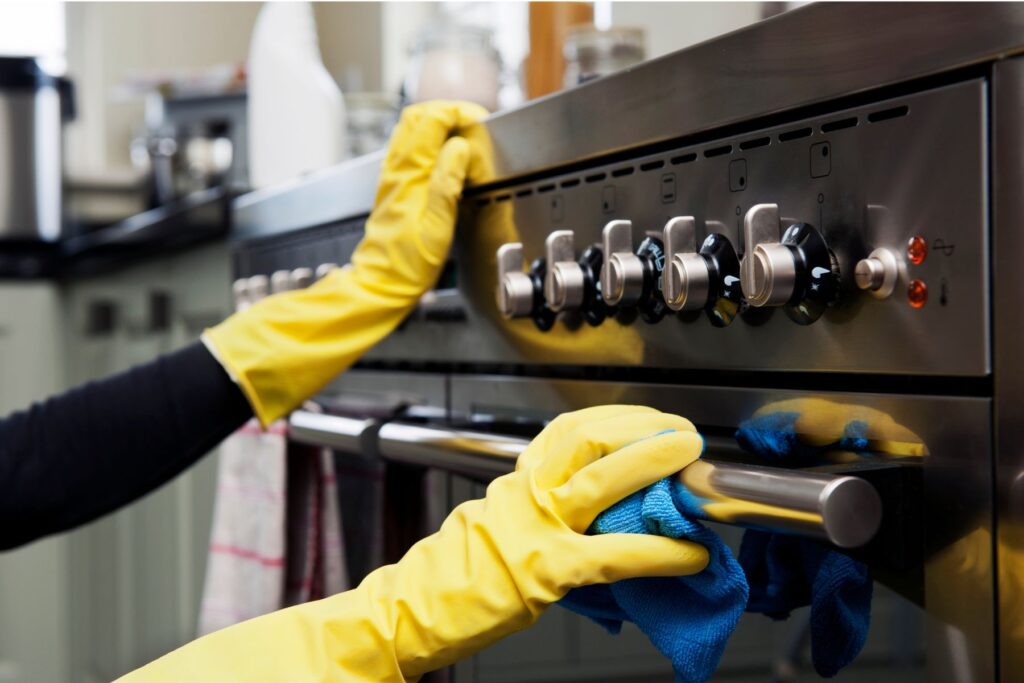
Stovetop and Microwave
- Wipe down all surfaces thoroughly with soap and water.
- Wash removeable parts, including grates, burners, knobs, drip bowls, and turntable.
Evaluate Whether to Replace Cookware
Safe to Keep (if undamaged and thoroughly cleaned)
- Stainless steel, metal, and glass items.
- Metal utensils.
Consider Replacing
- Non-stick pans with scratches (gluten can hide in tough-to-clean deep grooves).
- Cast iron (they are, unfortunately, porous and hard to fully clean).
- Wooden and plastic cutting boards, especially if they have deep cuts.
- Baking sheets.
- If you’d like to keep them, it’s safer to use parchment paper or aluminum foil when baking gluten-free.
- If you want to avoid parchment paper or aluminum foil, it’s best to just buy new sheets.
- Oven mitts and dish towels, if dirty and stained.
- Washing them with laundry can clean them sufficiently, it just depends on the state of yours.
- Grill.
- If you love grilling, you may want to buy a new one completely.
- If you grill infrequently, it may be easier to simply cook your food inside tinfoil on the grill.
Replace These Items
- Toaster.
- Toaster bags are an option if you’d prefer to keep your gluten-containing toaster, but less reliably safe in the long-term.
- Rolling pins (especially wooden).
- Waffle makers.
- Colanders.
- Sifters.
- Sponges.
What to Do With Old Cookware
Unfortunately, you won’t be able to keep everything. Instead of throwing the items directly into the trash, consider selling gently used items to a thrift store like Goodwill, online through a service like Facebook Marketplace, donate items to shelters accepting them, or giving them to friends and family that may need it—many college students moving out would love help building their kitchen supply with free pans, spatulas, plates, and more.
Option B: Mixed (Shared) Kitchen
Cooperation is key. Everyone in the household must be in agreement on the process and strategies. Above all else, encourage open communication. If someone makes a mistake, they must feel comfortable telling you what happened as quickly as possible rather than hiding it and trying to deal with it on their own.
Top Tips
Separate Whenever Possible
- Designate a separate part of the kitchen for gluten-free cooking.
- Designate one area or shelf in the pantry for gluten-containing products.
- Reserve the top shelves of the pantry, fridge, and freezer for gluten-free items only.
- If gluten-free items were on the bottom, crumbs from gluten-containing items could fall down and taint the GF items.
- Bake GF items on top rack of the oven, gluten items on the bottom racks.
- Choose a labeling system, such as colored tape, stickers, or markers, to indicate GF (or non-GF items). For example, any pot with red tape on the handles should be used only to cook gluten-free items.
- Be consistent—label containers, shelves, and even utensils if needed.
- Make sure everyone in your household understands the system.
Clean and Sort the Pantry
- Separate gluten-free and gluten-containing foods.
- Clean all shelves and drawers thoroughly.
- Plan separate storage for each category—many mixed households keep gluten-free items on higher shelves.
- Use separate bins, baskets, or containers for gluten-free foods.
- Consider using closed containers to prevent flour dust or crumbs from spreading.
Clean Kitchen and Appliances Regularly
- Wipe down fridge and freezer shelves, drawers, and handles thoroughly. Some drawers can be washed in the sink.
- Wipe down pantry shelves and cabinets.
- Vacuum or sweep floor after deep cleans to discard crumbs.
- Clean oven racks and walls regularly and avoid using convection mode for shared baking.
- If gluten-containing foods spill over or explode on the stove-top or in the microwave, wipe down the entire structure with soap and water, then clean removeable parts (turntable, grates, burners, etc.).
Duplicate and Separate High-Risk Tools and Foods
- Toasters.
- If you only want to have one toaster, you can use clearly labeled toaster bags to toast gluten-free bread.
- Cutting boards.
- Baking sheets.
- Can use the same baking sheets if you put down parchment paper or aluminum foil each time.
- Wooden or plastic utensils.
- Rolling pins.
- Oven mitts.
- Waffle makers.
- Colanders.
- Sifters.
- Sponges.
- Towels used during gluten prep.
- Condiments (such as mayo, peanut butter, hummus, etc.).
- Use squeeze bottles for condiments whenever possible.
Tip: Set clear expectations with everyone in your household. A well-labeled, organized system becomes easy to maintain over time.
Final Thoughts: Take It One Step at a Time
Setting up a gluten-safe kitchen doesn’t need to happen overnight. Break it into small tasks, and give yourself time to adjust. Progress adds up quickly and helps build your confidence. Whether you go fully gluten-free or share your space, your kitchen can absolutely support your health and lifestyle.
You’re building more than a kitchen—you’re creating a space where you can thrive.